Setup a test environment
|
In this section you will:
|
The rest of the tutorial assumes you are using this environment (you can also setup your own, you will only have to substitute hostnames/IP addresses when necessary).
This installation method is cross-platform, and you can use it on Linux, Microsoft Windows, Mac OS X. You will need:
-
VirtualBox, to run the demo virtual machines
-
Vagrant, to handle the virtual machines configuration and provisioning
To install them, run:
-
sudo apt install -y virtualbox vagranton Debian/Ubuntu systems -
sudo yum install -y VirtualBox vagranton RHEL systems -
sudo dnf install -y VirtualBox vagranton Fedora systems
Once they are installed, run:
git clone https://github.com/Normation/rudder-vagrant.git
cd rudder-vagrant
And then, to create the environment:
vagrant up
This will download the virtual machine image if needed, and will setup a Rudder environment using two virtual machines.
|
With recent VirtualBox, you need to defined the authorized IP range for created boxes. Boxes created with this method use networks from 192.168.42.0/24 and upward, incrementing with each new environment running. To define this range, you need to create or edit as root file * 192.168.0.0/16 |
|
Vagrant commands
Here are the basic vagrant commands useful to manage your environment:
|
Once the command returns, you are ready to get started! You now have access to two virtual machines,
server and node, with Rudder already installed.
You can connect to the server’s Web interface on:
You have to accept the self-signed certificate generated during installation, and you will see Rudder’s login page.
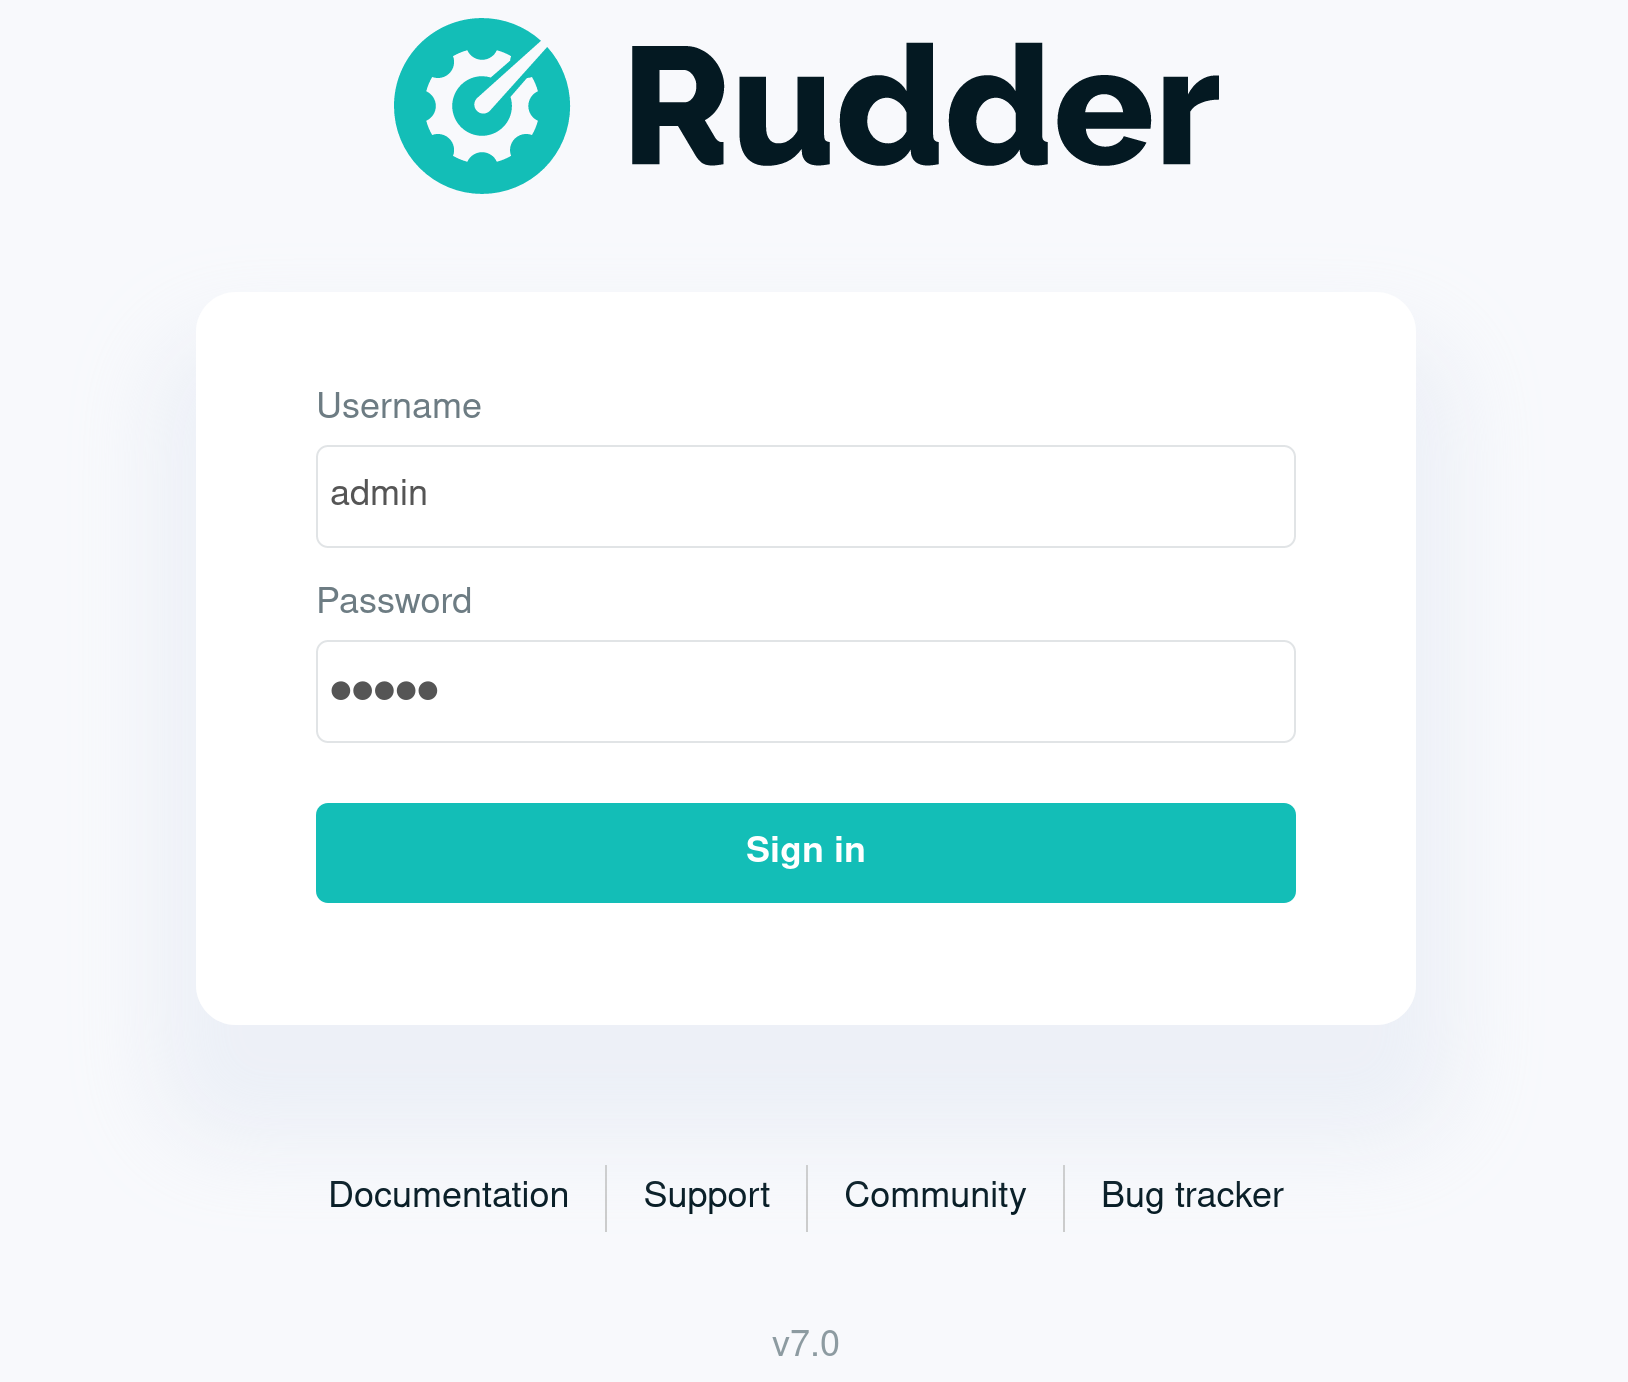
You can login with:
-
User: admin
-
Password: admin
|
You now have access to a full Rudder platform, to follow this guide or for later tests. |
← Get started Define configuration policies →